Anonymizer Total Net Shield™ v2.08
Windows Mail Configuration
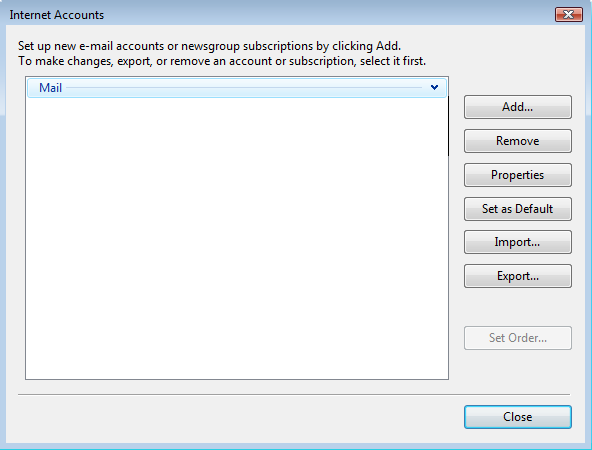
The Total Net Shield Configuration Wizard will automatically set up the Total Net Shield email account in your mail client when you click Create Account. If you would like to manually add the Total Net Shield email account to your email client please follow the steps below.
Manual Windows Mail Configuration
Step 1
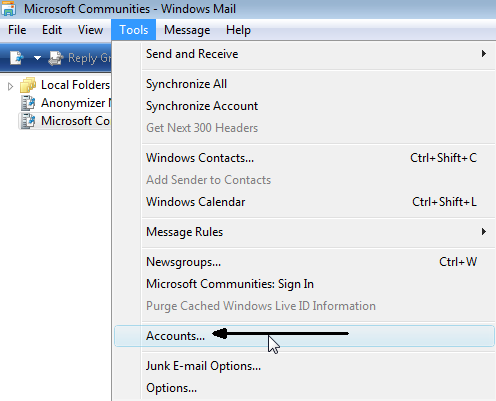
Open your Windows Mail client, go to Tools then select Accounts.
Step 1
Open your Windows Mail client, go to Tools then select Accounts.
Step 4
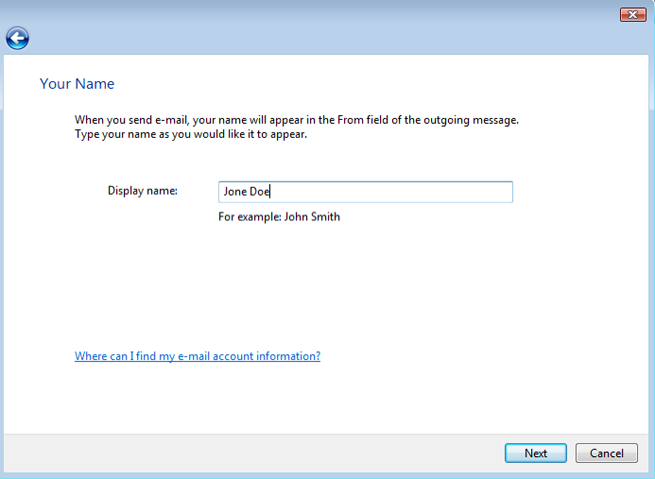
In the next window you will be prompted to enter your Display Name. This is the name that will appear in the From field. Note: It is NOT recommended to use your real name in the Display field.
In the next window you will be prompted to enter your Display Name. This is the name that will appear in the From field. Note: It is NOT recommended to use your real name in the Display field.
Step 5
When prompted for your Internet Email Address enter your Anonymizer Email Address. Click Next to continue.
When prompted for your Internet Email Address enter your Anonymizer Email Address. Click Next to continue.
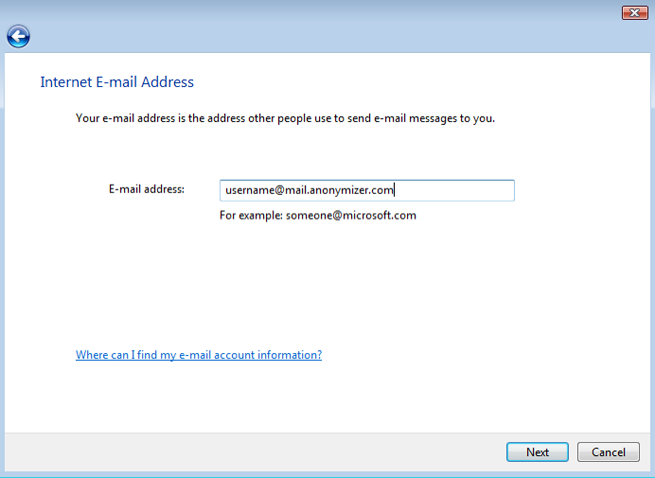
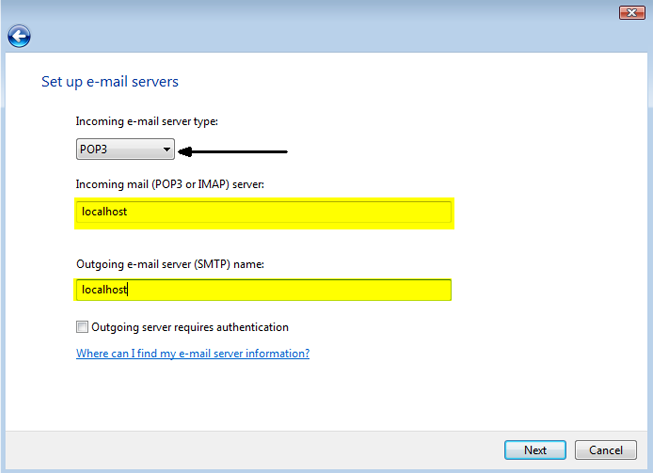
Step 6
To set up your email servers select POP3 as the server type; then type in localhost (all lowercase, no spaces) for both the incoming and outgoing mail servers.
To set up your email servers select POP3 as the server type; then type in localhost (all lowercase, no spaces) for both the incoming and outgoing mail servers.
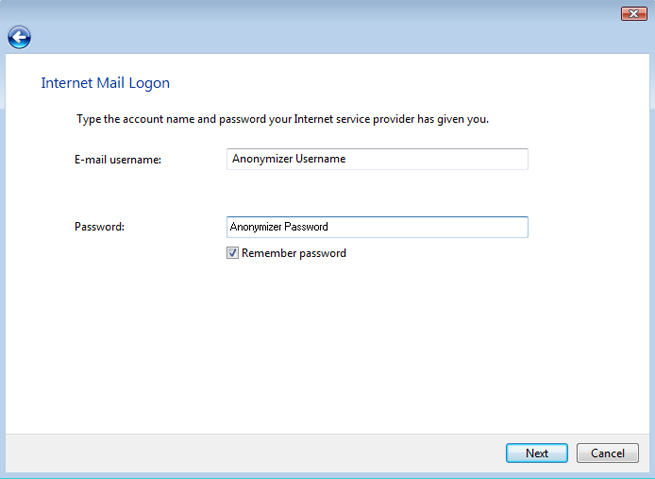
Step 7
After entering your server settings you will be prompted for your Internet Mail Logon. Enter your Anonymizer username and password then click Next.
After entering your server settings you will be prompted for your Internet Mail Logon. Enter your Anonymizer username and password then click Next.
©2007-2009 Anonymizer, Inc. All rights reserved. Anonymizer, Anonymizer Anonymous Surfing, Anonymizer Anti-Spyware, Anonymizer Digital Shredder, Anonymizer Nyms, and Anonymizer Total Net Shield
are trademarks or registered trademarks of Anonymizer, Inc.


are trademarks or registered trademarks of Anonymizer, Inc.